
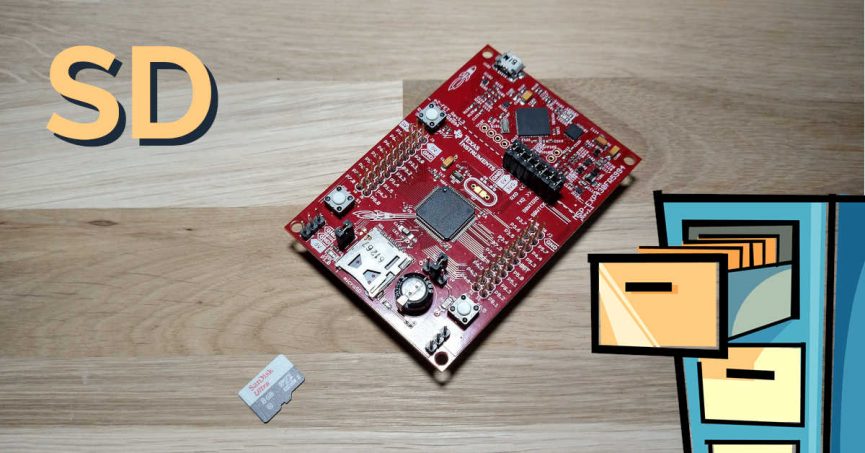
This example shows you how to easily log data to a SD card with Embedded Proto. The advantage of using protobuf for logging data is that protobuf makes it easy to add new fields with new code revisions. This while it remains backwards compatible. Allowing you to read back old logs with new software. This is especially handing when still developing your product or releasing a new version.
In this example we use a MSP430FR5994 from Texas Instruments. This is an ultra-low-power 16-bit microcontroller.
In the following we will take you through the setup of this example, what kind of message is used and how the embedded code writes the data to the SD card. Finally, we will look at how to run the code and read back the data on a PC.
Source code
The source code for this example is available on GitHub.Version
This example is up to date with version 3.4.2 of the source code.The setup
During this example we are using an MSP-EXP430FR5994 board made by Texas Instruments. This is an easy to use development board with a MSP430 processor. The board does not require an additional programmer and is available on the TI website.
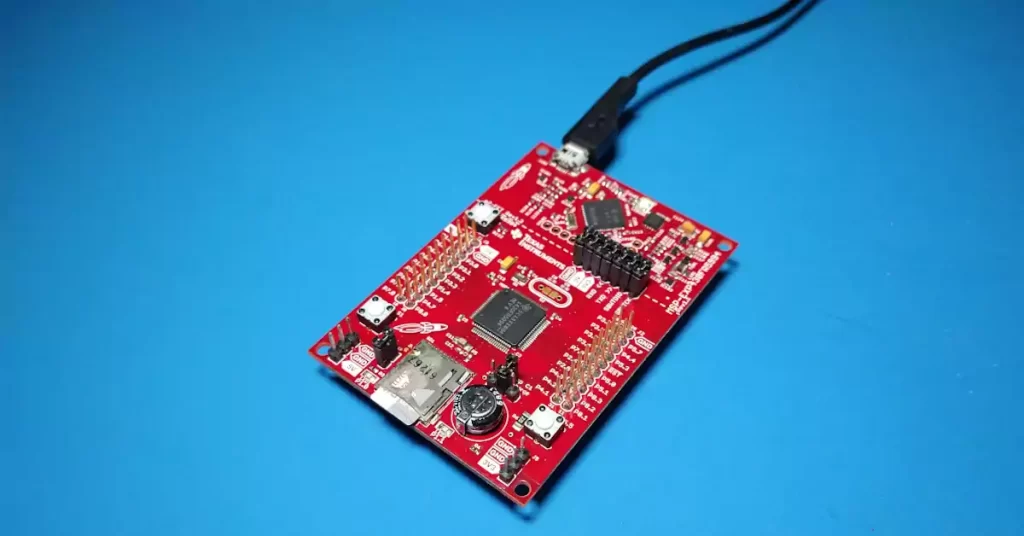
In this example we will be using the SD card functionality of this board. The details on how to install this example is described in the README of this example. The short version of the installation is:
git clone https://github.com/Embedded-AMS/EmbeddedProto_Example_MSP430_SD_Logger.git --recursive --shallow-submodules
cd EmbeddedProto_Example_MSP430_SD_Logger
python setup.py
The code in the repository is divided into four folders:
tree -L 1
.
├── Desktop
├── EmbeddedProto
├── msp430fr5994
└── proto
The desktop folder holds the scripts to be run on a PC. It is a python script which is used to read a stored log file from the SD card. You can imagine this is a data analysis script.
The EmbeddedProto folder holds Embedded Proto as a git submodule. This way it is possible to track matching versions of this example and Embedded Proto. If you did not clone the repo with the --recursive flag this folder is empty. In that case please pull and update the git submodules.
The msp430fr5994 folder holds the embedded code. The code is based on an out-of-the-box project provided with the MSP board made with Code Composer Studio (tested with version 8.2.0 and 12.5.0).
The proto folder holds the definition of the protocol buffer message used in this example. The next paragraph discusses this message in more detail.
Installation and Setup
The details on how to install this example are described in the README present in the repository with the source code.The messages
For this example, one messages has been defined. This message is called Log and contains 5 fields. These fields represent different data you would like to log to the SD cart.
syntax = "proto3";

message Log
{
  int32  range        = 1;
  uint32 count        = 2;
  bool   active       = 3;
  float  temperature  = 4;
  double speed        = 5;
}
This is a very simple example that allows you to easily extend and experiment. Just try to add some other fields yourself!
Writing the log message to an SD Card
Next, we are going to take a look at the embedded code and how the log messages are written to the SD card.
In main.cpp the actual logging to SD card is implemented. This is shown in the following code snippets.
First, we define the actual message object and set data in it. For this demo case, we generate random values. In your actual implementation, you will replace this with your business code.
// Define the message object.
Log sd_log;

// Start the main loop.
while(Success) {
  sd_log.set_count(counter);
  sd_log.set_range(get_random_int32());
  sd_log.set_active(!sd_log.get_active());
  sd_log.set_temperature(get_random_float(20.0) + 15.0);
  sd_log.set_speed(get_random_double(120.0) - 60.0);
Next we serialize the data to a byte array. The write_buffer is a high level object keeping track of the number of bytes written and the maximum size. If no error occurs this serialized message is written to the SD card.
  auto serialization_status = sd_log.serialize(write_buffer);
  if(::EmbeddedProto::Error::NO_ERRORS == serialization_status)
  {
Next add a ETX character and a newline at the end of the data buffer. This is only done for this simple example. As it only works if the character combination does not appear in the actual data. If you wish to know how this is done in professional applications contact us for detailed design.
After terminating the log message we use the SD card api to write the data array to the card.
    write_buffer.push(0x17); // ASCII End of transmission block.
    write_buffer.push('\n');
    SDCard_status = write_SDCard(write_buffer.get_data(),
                                 write_buffer.get_size());
Finally, the write_buffer is cleared and the MSP430FR5994 will go into standby mode (LPM3). A timer interrupt is fired every second to wake up the microcontroller and log a message to the SD card.
  write_buffer.clear();

  // Enter standby mode for one sec.
  __bis_SR_register(LPM3_bits | GIE);
} // End of while loop
Running the Code
Now we can run the code. Program the MSP430 microcontroller using the onboard programmer and Code Composer Studio.
A requirement before you start the mcu is that you format the SD card with a FAT file system on your desktop. Most SD cards come with the correct format from the factory. These should work out of the box.
Next just let the mcu run for a while. You should see the green led alternate while writing data. After some time switch the device of and take out the SD card.
It is time read back the data on your pc so insert the card in your desktop. Starting the python script in a virtual environment can be done with the following commands.
On Linux:
cd desktop
source venv/bin/activate
python3 main.py --path "path to file on SD card"
and on Windows:
cd desktop
venv/Scripts/activate.ps1
python3 main.py --path "path to file on SD card"
You should see something like this:
count: 0
range: 16838
active: True
temperature: 18.514511108398438
speed: -22.96395764030885


count: 1
range: 17515
active: False
temperature: 33.952606201171875
speed: -39.39268166142766


count: 2
range: 23010
active: True
temperature: 19.528335571289062
speed: -0.6280709250160257
We hope this was useful to you. If you have any questions feel free to contact us!
If you find this kind of examples informative please consider reading one of our other examples like: A simple BLE example with Embedded Proto. Also share Embedded Proto with your colleagues!